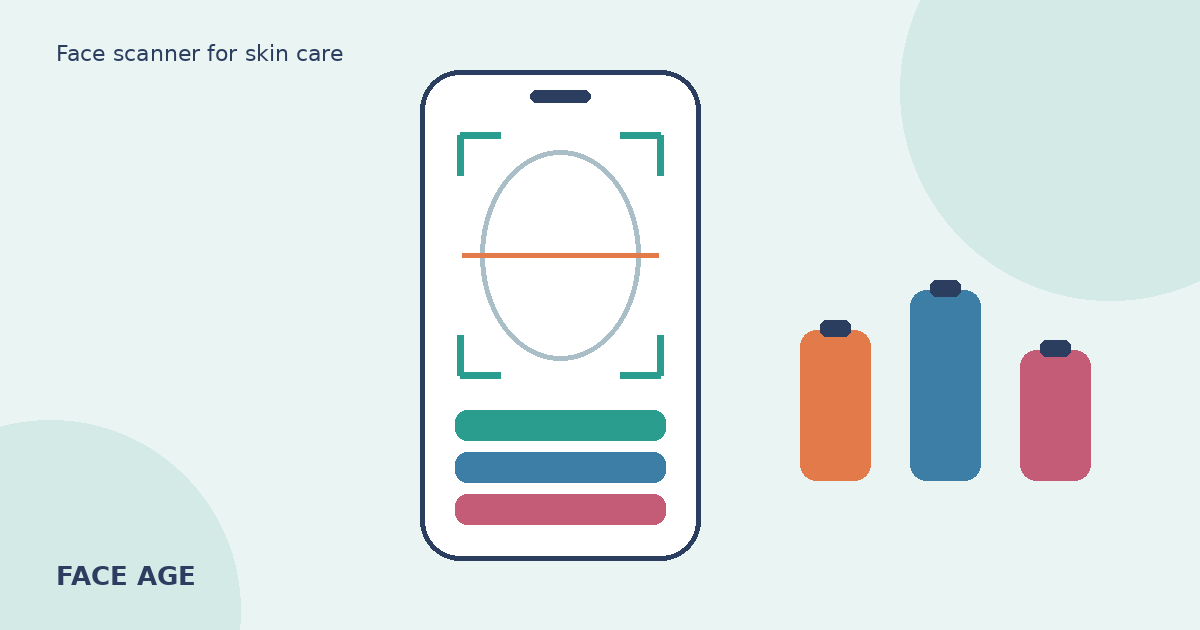
People search "face scanner for skin care" expecting two different things. Some picture the countertop machines with a chin rest you see in department stores. Others picture a phone app. For a store owner selling online, the useful version is neither: it's a scanner that lives on your product pages and turns a selfie into a shopping list.
Key terms
- Face scanner: here, an AI tool that reads a face photo for visible skin concerns. Not a device.
- Concern: a visible topic the analysis rates, such as wrinkles, pores, pigmentation or dryness.
- Severity: the level assigned to each concern (low, medium or high), used to match products.
- Image Suitability Check: a badge that tells the shopper whether the photo was good enough to analyze.
- Skin Age: an estimate of how the skin reads in the photo, shown as an age.
What does a face scanner for skin care actually do?
Face Age analyzes one photo for 13 visible skin concerns, backed by 250+ attributes the engine reads underneath. Each concern gets a severity level. The result screen shows the concern list along with badges such as Skin Age, Skin Health and the Image Suitability Check, and then the products you've linked to those concerns. Not a medical diagnosis; does not replace a dermatologist.
That last part matters more than it seems. A scanner that returns scores with nothing to buy next is a toy. The value for a store is the step from "medium dryness, high pores" to "here are the three products we'd start with." That's handled by product mapping, which we'll get to.
On Plus and above, the same scan can also feed a morning and night routine, a downloadable branded PDF report, and scan history so a returning shopper can compare two scans side by side. See the skin analysis feature page for what the result looks like.
In-store machine, consumer app or store scanner?
| Countertop skin machine | Consumer skin app | Store face scanner (browser) | |
|---|---|---|---|
| Where it runs | Physical counter | Shopper's own app | Your website, any device |
| Hardware | Dedicated device | Phone | Phone or laptop camera |
| Who owns the products shown | The retailer | The app maker | You, from your catalog |
| Install effort | Purchase and staff training | None for you | App or script install, product mapping |
| Data and follow-up | In-store only | Stays with the app | Can feed your email and analytics |
If you sell online, only the third column puts the result next to your own add-to-cart button.
How to add a face scanner on Shopify
The Shopify route needs no code.
- Install Face Age from the Shopify App Store and open it from Shopify Admin > Apps > Face Age.
- Connect products. In Connect Products, link each product to the concerns and severity levels it suits. Automate AI can do a first pass from your product names and descriptions; review the result by hand.
- Set up the quiz (optional but useful). A few questions about skin type or sensitivity add what a photo can't show. Our guide to building a skincare quiz on Shopify has the details.
- Publish. On the Publish page, turn on the core extension as a Modal (floating button on every page) or a Section (a block on a page you choose).
- Add your privacy wording. Your privacy policy should say the store uses AI skin analysis. Face Age provides a template.
That's it for a first version. You can add optional blocks later, like Product Insight on product pages or a Recommended Products carousel.
How to add one on WooCommerce, WordPress or a custom site
Off Shopify, you work from the Face Age panel at panel.getfaceage.com.
- Create a business in the panel and copy its Face Age ID.
- On WooCommerce or WordPress, download the plugin from the panel, upload and activate it, then paste the ID into its settings.
- On any other site, add the CDN script tag and a container div, then render the scanner as a section, popup or widget. Developers can use the
face-agenpm package or the React and Vue components instead. - Pass your products so recommendations come from your catalog.
The integrations page shows the code for each route.
Getting good scans from real shoppers
Shoppers scan at night, in the bathroom, with a ring light behind them. You'll get some rough photos. Three small things help a lot:
- Put a one-line photo tip right next to the camera button: face the camera, daylight if possible, no filter.
- Keep the Image Suitability Check badge on, so shoppers know when to retake.
- Mention that upload is available. Some people don't want to open the camera on a work laptop.
We covered this in more depth in photo tips for a usable skin scan.
Mapping products: the part that decides quality
Here's the trade-off nobody mentions on the sales page. The scanner's output is only as useful as your mapping. If every serum is linked to every concern, every shopper sees the same list and the scan feels fake.
Spend an afternoon on it. Link products to the concerns they're actually for, pick severity levels (a strong product for high levels only, a gentle daily product for all), and add exclusions from quiz answers, like hiding a strong exfoliant from shoppers who say they're sensitive. Exclusions always win over the scan. Switch off concerns you don't sell for.
Common setup mistakes
A few things I see on new installs again and again. The scanner goes live before a single product is mapped, so the first shoppers get an empty or generic list. The button says something vague like "Discover" and nobody taps it. The disclaimer gets cut from the result page to make it look cleaner. And the quiz grows to eight questions because everyone on the team had one they wanted to add.
None of these need a developer to fix. Map products before you publish, name the button plainly ("Skin scan" works), keep the non-medical note visible, and hold the pre-photo quiz to the questions that actually change which products show up. If usage is still low after that, look at placement before you touch anything else.
What does it cost?
Face Age's Shopify plans are Start $59, Plus $129, Growth $249 and Scale $499 per month, with a 7-day trial. Start covers the scan, quiz and product recommendations; Plus adds routines, history, comparison and PDF reports. Full plan details are on the pricing page.
FAQ
What is a face scanner for skin care? A browser tool that analyzes a shopper's selfie for visible skin concerns and suggests products from your catalog.
Do shoppers need special hardware? No. A phone or laptop camera works, and photo upload is available.
Is a face scanner result a medical result? No. It's a cosmetic analysis. Not a medical diagnosis; does not replace a dermatologist.
How long does setup take on Shopify? Install and placement take minutes. Product mapping takes longer and deserves the time.
How much does it cost? Shopify plans are Start $59, Plus $129, Growth $249 and Scale $499 per month, with a 7-day trial.