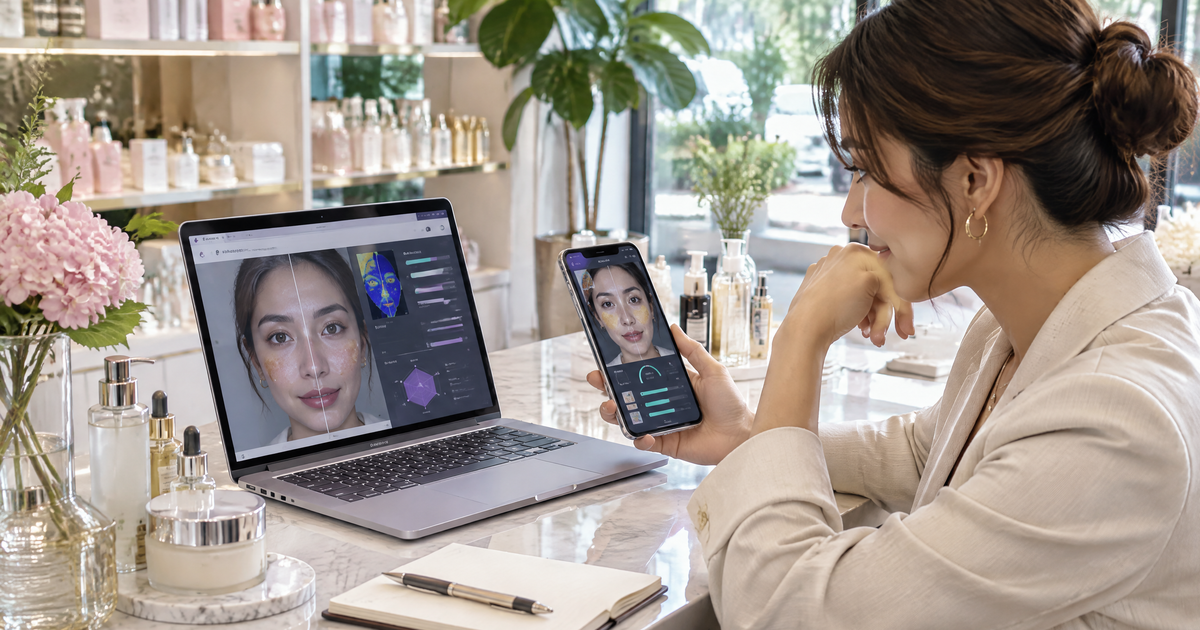
Selfie skin analysis lets a shopper take one photo with their phone and get a read on visible concerns like oiliness, redness, pigment or fine lines, followed by products and a routine picked from your range. To offer it as a beauty brand, you need four pieces: a skin analysis tool installed on your site, a scan placed where shoppers already want advice, products mapped to concerns so the results point at things you actually sell, and a routine step so the answer isn't just a list of SKUs. Get those four right and the selfie becomes a consultation, not a gimmick.
I've watched brands launch a scan and stop at step one. The scan works, the shopper sees a skin report, and then they get a generic grid of bestsellers. That's where most of the value leaks out. This guide covers the full path.
What selfie skin analysis actually does
A shopper opens the scan, allows camera access and takes a front-facing photo. The model reads visible signs in that image. In Face Age's case, that's 13 skin concerns across 250+ attributes, plus a Skin Age estimate. Each concern comes back with a severity level the store can use for matching.
What it doesn't do is just as important. It doesn't measure moisture with a sensor, it can't see under the skin, and it isn't a medical check. Not a medical diagnosis; does not replace a dermatologist. Say this plainly on the scan screen. Shoppers trust a tool more when it's honest about its limits, and our piece on consumer trust in AI skin analysis goes into which messages matter at each stage.
Step 1: Pick how you'll install it
There are two routes, and the features are the same on both.
- Shopify app. Install Face Age from the Shopify App Store and add it from the theme editor. No code. This is the quickest path for most skincare brands.
- API or custom code. If your store runs on another platform or a headless build, the same scan, quiz and recommendations are available through the API. Developers embed it and pass products in.
If you're unsure which to pick, the rule I use: if your theme is Shopify Online Store 2.0, use the app. Only go custom if you're already off Shopify.
Step 2: Place the scan where people want help
Placement decides whether anyone scans at all. Face Age gives you two core ways to publish it:
- Modal, a floating button that opens the scan as a popup from any page.
- Section, a block you place on a page, such as a dedicated "Find your routine" page or the homepage.
Good spots, in rough order of how often I see them work: a "Skin quiz" or "Find your routine" item in the main menu, a section on collection pages for concern-led ranges (acne, brightening, anti-aging), and a small encouragement banner on product pages for shoppers who aren't sure a product suits them.
Avoid hiding it in the footer. And don't launch it as a full-screen popup on first visit. People haven't decided they want advice yet.
The broader placement question is covered in how to add a face scanner for skin care to your online store.
Step 3: Help shoppers take a usable selfie
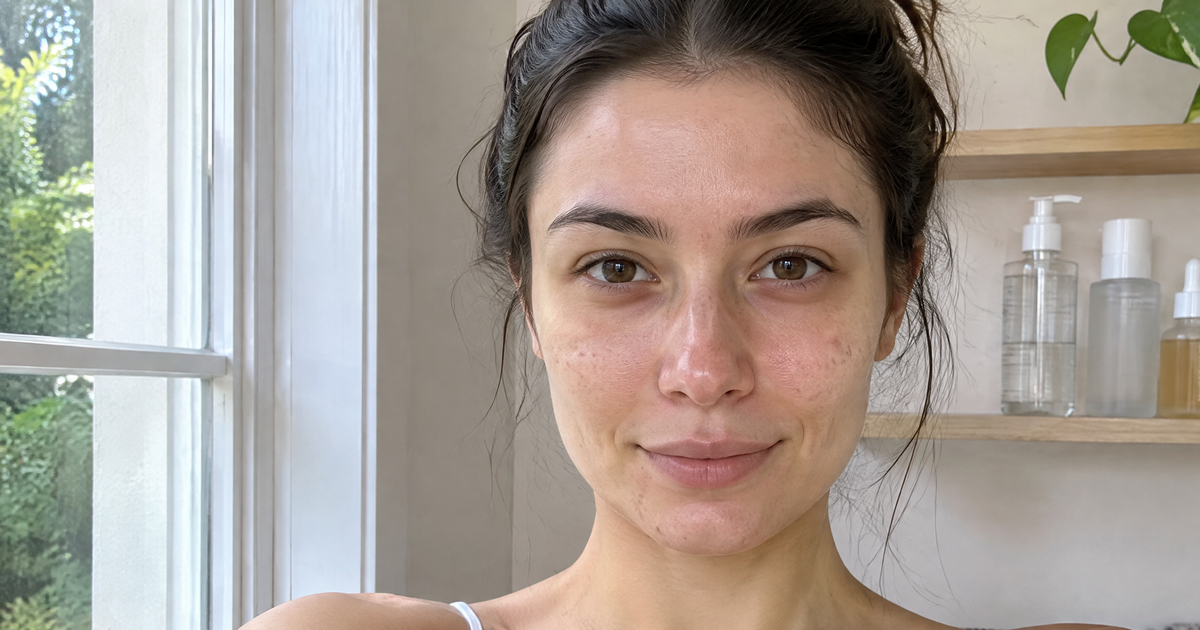
Bad photos give weak readings. A shopper in a dark bedroom with a lamp behind them will get a less useful result than someone facing a window.
Put three short instructions on the camera screen:
- Face a window or a bright light. No strong light behind you.
- Hair off the face, no makeup if you can.
- Hold the phone at eye level and look straight in.
That's it. Longer instructions get skipped. If you sell a lot of base makeup, consider a line on the product page like "Scan before you apply makeup for the clearest read." More detail in our photo tips for a usable skin scan.
Step 4: Add a few quiz questions the photo can't answer
A selfie shows what's visible. It can't tell you that a shopper's skin stings with acids, that they're on a budget, or that they want a three-step routine, not seven.
Face Age's quiz builder sits beside the scan. Keep it short. Four to six questions is plenty:
- How does your skin feel by midday? (Tight, comfortable, shiny)
- Does your skin react to new products?
- How many steps do you want in your routine?
- Any ingredients you avoid?
Then use include and exclude rules so answers change the products. A shopper who says their skin reacts easily shouldn't be shown your strongest exfoliant, even if the scan picks up enlarged pores.
Step 5: Map products so results point at your range
This is the step that turns a selfie into sales-ready advice. For each product, you choose the concerns it addresses and the severity bands it fits.
A practical way to start:
- Map your 20 to 30 core products first, not the whole catalog.
- Give each strong active product a gentler sibling for low severity.
- Map basics like cleansers, moisturizers and sunscreen broadly, since nearly every routine needs them.
Once mapping is in, recommendations come from your catalog only. The shopper never sees a product you don't sell.
Step 6: Turn results into a personalized routine
A list of products isn't a routine. Shoppers want to know what goes on in the morning, what goes on at night, and in which order.
On Plus and above, Face Age builds AM and PM routines from the products it matched. A typical output for a shopper with oily skin, medium pigment and mild redness might be: gel cleanser, brightening serum, light moisturizer and sunscreen in the morning; the same cleanser, a calming toner and a richer moisturizer at night. The exact steps depend on how you've mapped your range.
The AI skincare routine generator guide walks through how the AM and PM split works and how to keep routines short enough that people follow them. You can also see the routines feature.
What to add once the basics are live
After a month, look at the analytics dashboard: how many analyses ran, which products shoppers added to cart after a scan, and which concerns come up most. Use it to fix mapping gaps, not to make promises.
Then consider:
- Analysis history so returning shoppers see "Previous analyses found" and can rescan.
- Two-scan comparison to show what changed between visits.
- Branded PDF reports shoppers can download and keep.
- Email sync to Klaviyo or Mailchimp so follow-ups match each shopper's concerns.
These are on Plus ($129 a month) and above on the Shopify App Store. Start is $59, Growth $249, Scale $499, each with a 7-day free trial.
Mistakes I see brands make
- Overstating it. It's an analysis of visible skin, so call it that.
- Showing everything. Ten recommendations is a catalog page. Three to five, in routine order, is advice.
- Forgetting privacy. Update your privacy policy to mention AI skin analysis before launch.
- No follow-up. If the scan is free and anonymous, give shoppers a reason to save the result, like the PDF or an email copy.
If you're still choosing a provider, our 2026 comparison of AI skin analysis tools lays out the main options side by side, and the AI skin analysis feature page shows what Face Age reads from one photo.
FAQ
How can a beauty brand offer selfie skin analysis? Install a skin analysis app or API, place the scan where shoppers want advice, map products to concerns and severity, and turn on routines so each selfie ends in an AM and PM plan.
Is selfie skin analysis free for shoppers? Usually. The brand pays for the tool. Face Age plans start at $59 a month on the Shopify App Store.
Does the shopper need a special camera? No. A phone's front camera in daylight is enough.
Is a selfie skin analysis a medical assessment? No. It analyzes visible skin for cosmetic product choices. Not a medical diagnosis; does not replace a dermatologist.