

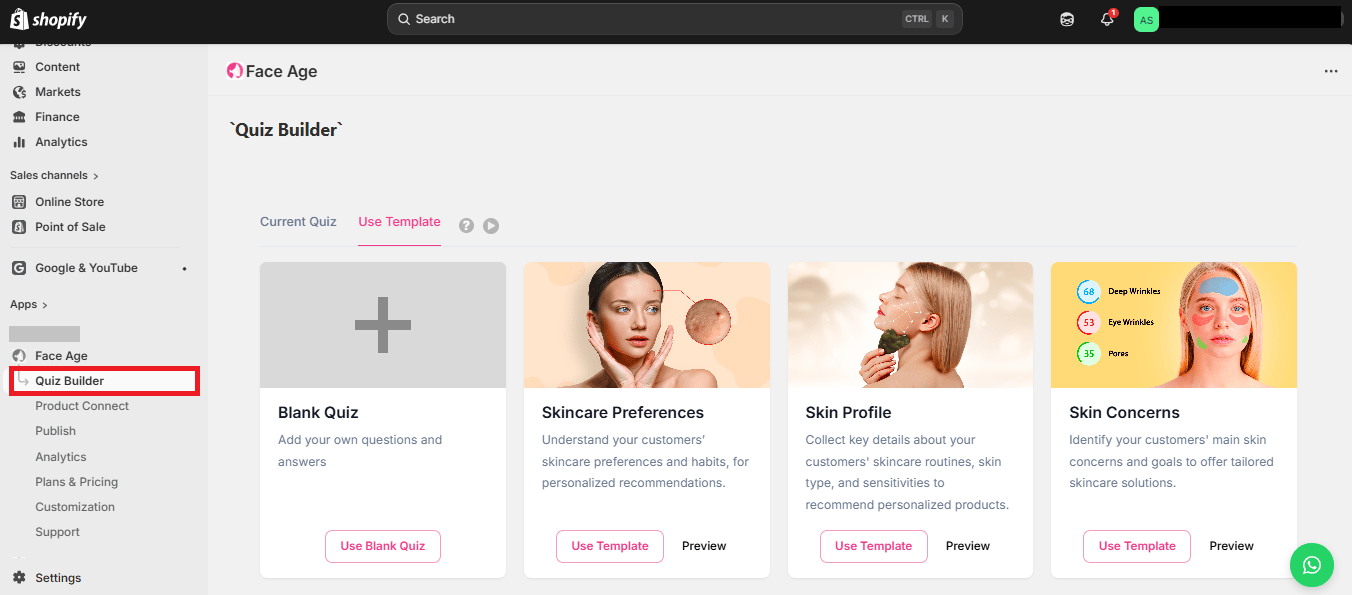
Start from a template
You can select one of the ready-made templates. It adds questions to your store automatically, and you can edit them as needed. Click your template and press Confirm.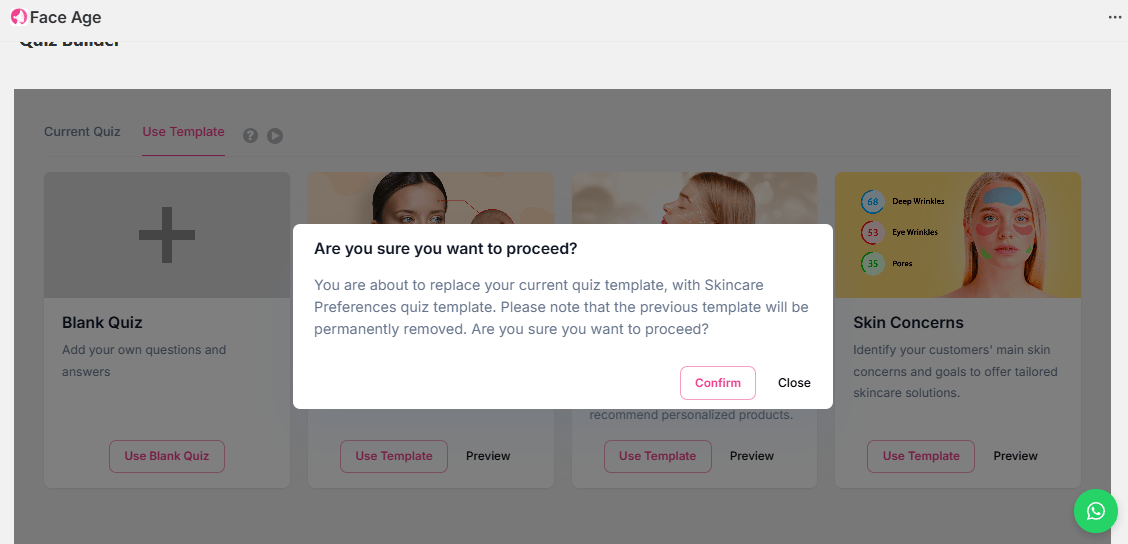
Add a section
To create a question, first add a section. Click Add Section in the right corner.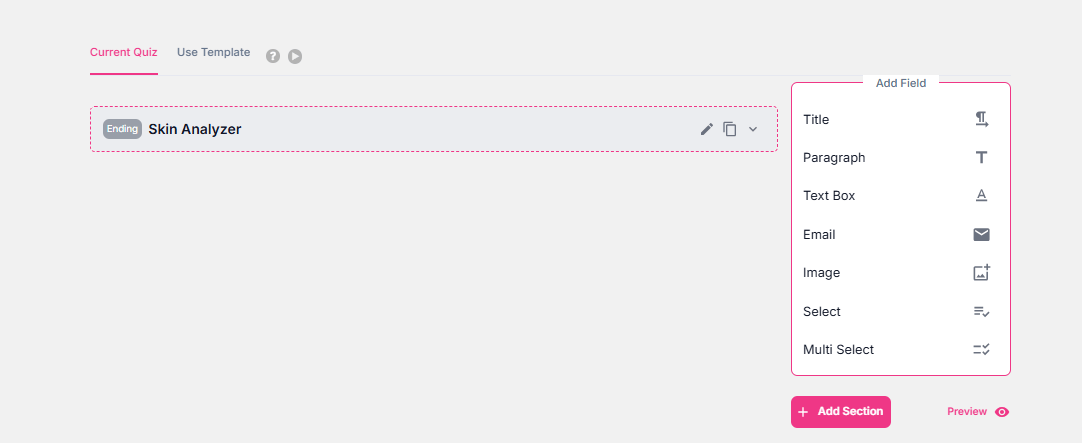
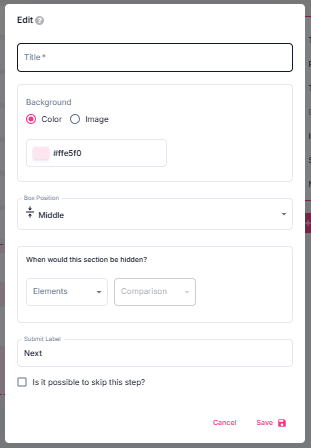
- Title — shown to your users. Write the main question here, or leave it empty.
- Background — a color or an image. Each section can have its own.
- Box position — show the questions in the center, top or bottom. You can set this per section, but for a consistent design keep them all on the default, center.
- Section conditions — rules for the section, described next.
Hide a section for some customers
The first condition hides a section from a specific group of customers. Allergies are a simple example:- Question 1: Do you have any allergies? — options Yes and No.
- Question 2: What are you allergic to? — a list of items.
Section icons
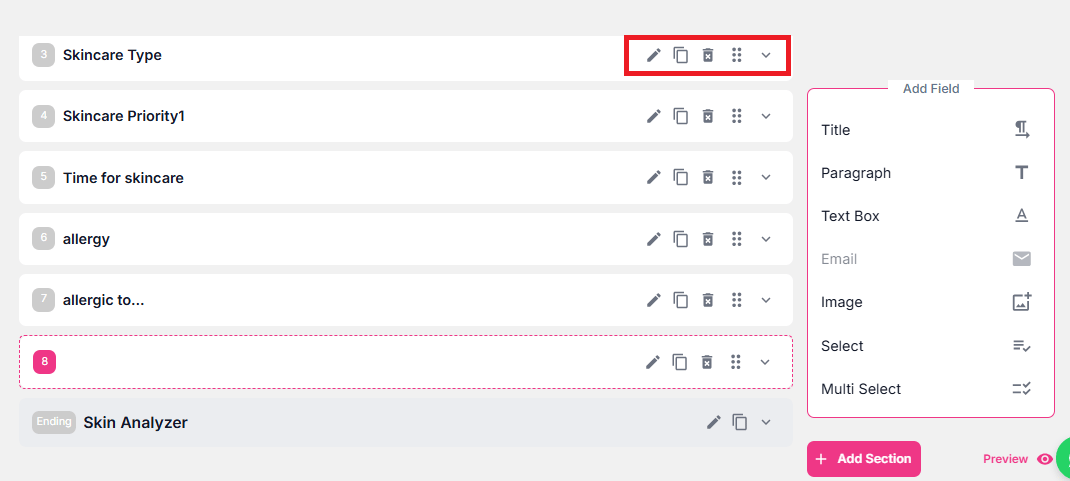
Each section has 5 icons. From right to left:- Arrow — expand or collapse the section, so you can edit without endless scrolling.
- Move — drag and drop to change the order of sections.
- Delete — removes the section completely.
- Copy — duplicates the section with all its content.
- Edit — opens the edit panel.
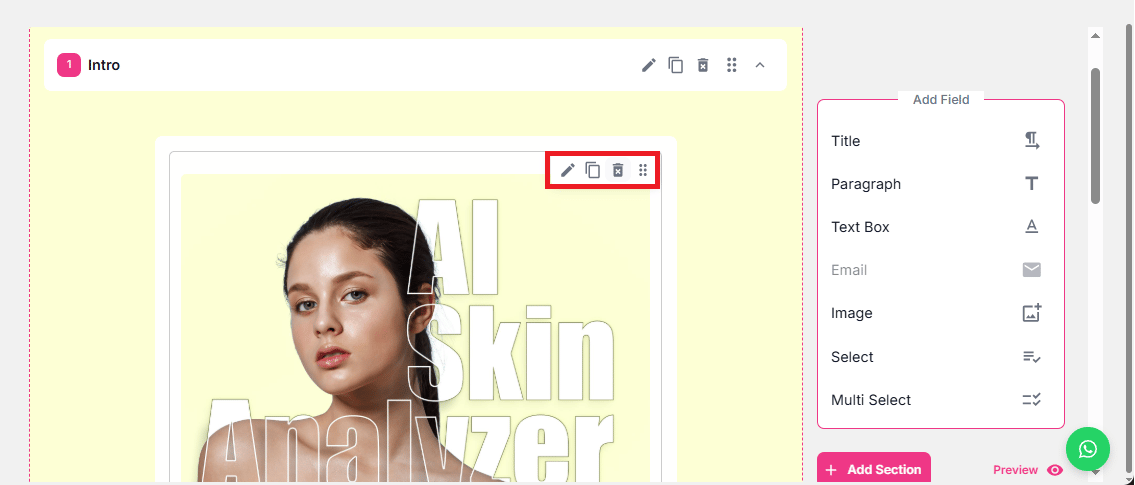
Icons 2 to 5 work the same way for the boxes inside each section.
Question boxes
Add boxes to a section from the right sidebar, by clicking or with drag and drop.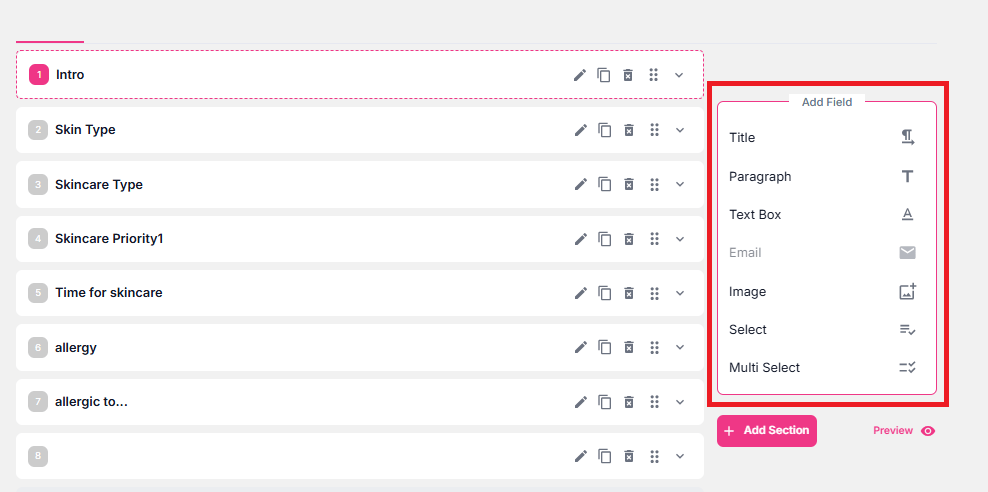
Title
Use this when you need a large opening sentence. The main question usually goes in the title of the question box itself, so this box is mostly used in the intro section. You can change the text size and color.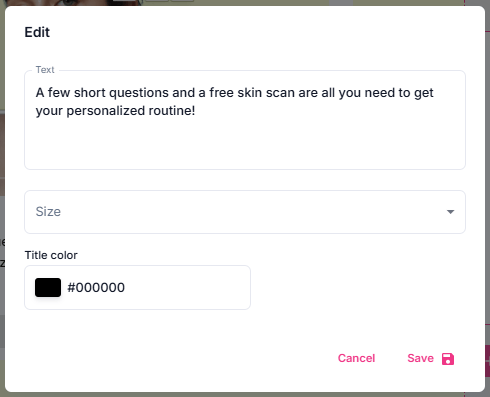
Paragraph
Use this for extra explanations in a question section. You can change the text size and color.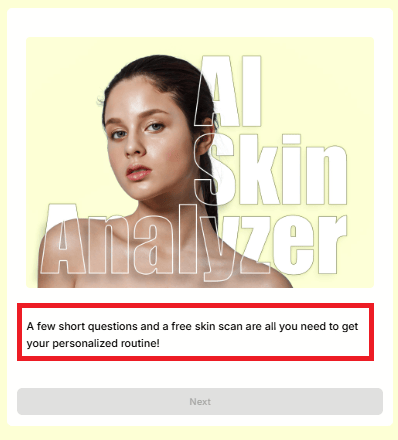
Text box
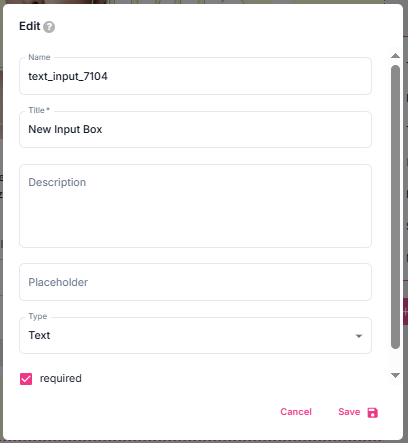
Use this when you expect the user to type information such as a phone number, name or password. Click the pencil icon to edit it:- Name — not shown to your users. It’s required, filled automatically, and must be unique.
- Title — usually the main question.
- Description — a short explanation for your user.
- Placeholder — any text, or empty.
- Type — the kind of information to accept, so users can’t enter their name instead of a phone number: text, number, password, URL or date.
- Required — whether the question must be answered.
A box’s required setting is separate from the section’s. For example, a required section can have 3 question boxes where one is optional — just uncheck Required on that box.
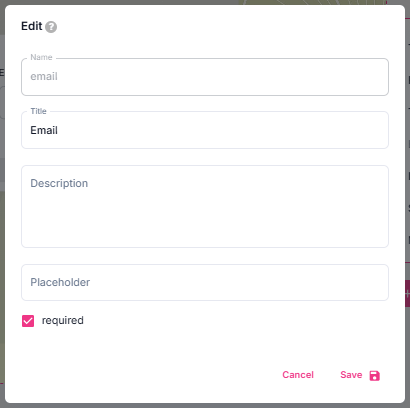
- You can have only one email box, and its name field can’t be edited.
- Emails your customers enter are collected in Shopify Customers, together with tags for their skin problems. Use them for segmentation and personalized emails.
- If you activate Integrations, Face Age can automatically send personalized emails to each user.
- The email box usually goes in the last section, but you can place it anywhere in the flow.
Image
Mostly used to create a nice intro, but you can add an image in any section. The image’s name and title are never shown to the user. Choose the image position, then upload your image.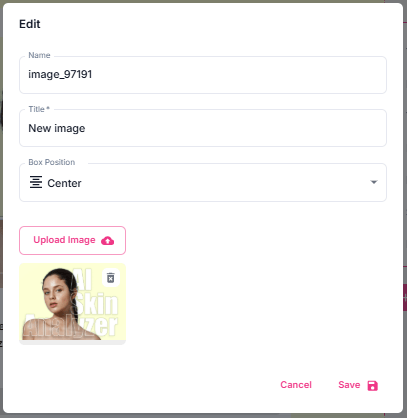
Select
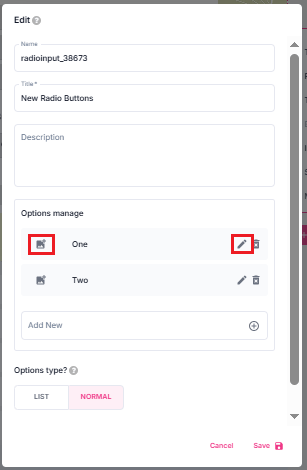
Use this for questions with a single answer, such as yes/no or age ranges. Name, title and description work as above.- To change an option, click the pencil icon, replace the default text and click the checkmark. You can also add an image or icon on the left of each option.
- To add an option, type the text in the bottom box and click the plus icon.
- Choose whether options are shown as a list or side by side, and whether the question is required.
Multi select
Works exactly like Select, but the user can choose several options — for example allergies, or products they use regularly.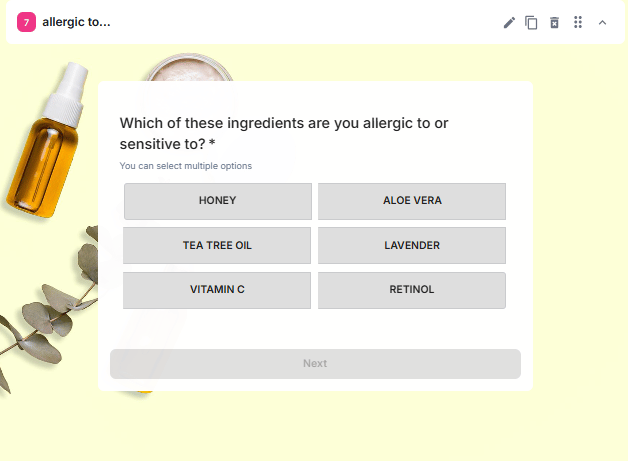
The Skin Analyzer section
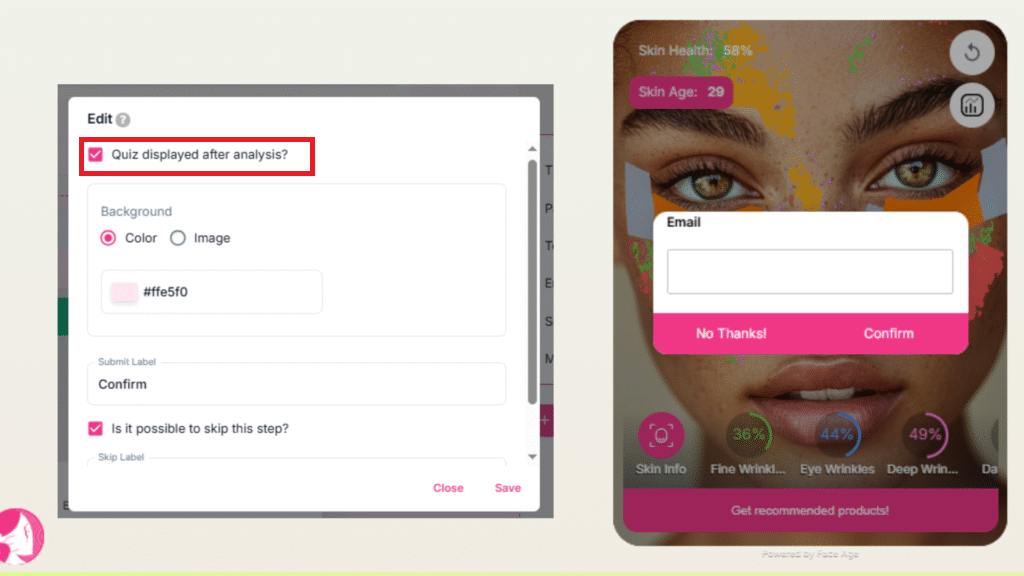
The last section can’t be deleted. You can remove all questions in Customization so users go straight to the analysis without a questionnaire, but the Face Age Analyzer section always stays.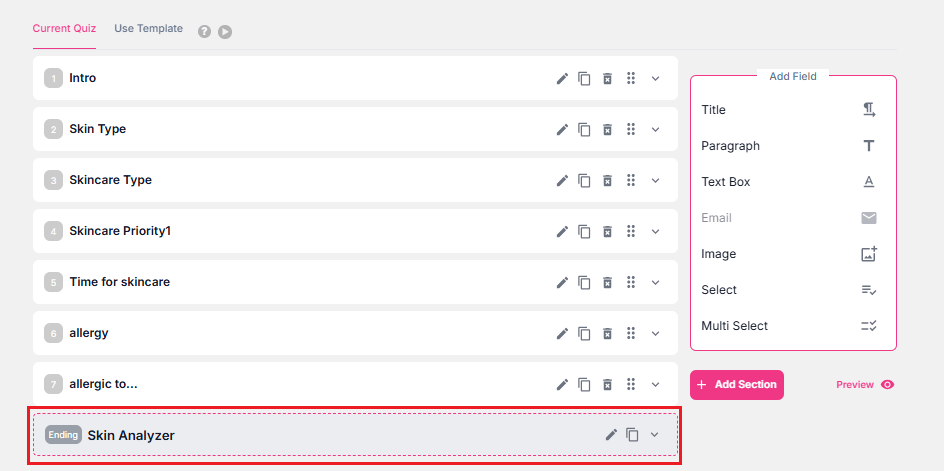
-
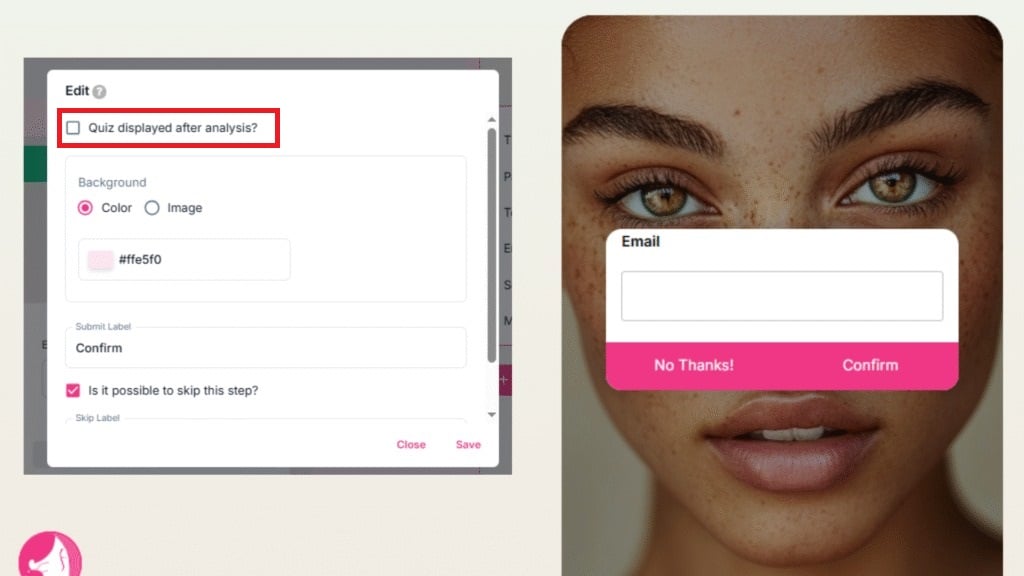
Disable Quiz Display After Analysis to collect the information before the analysis.
-
Enable it to show the question right before the analysis results.
Preview
When your questions are ready, click Preview on the right to see the result.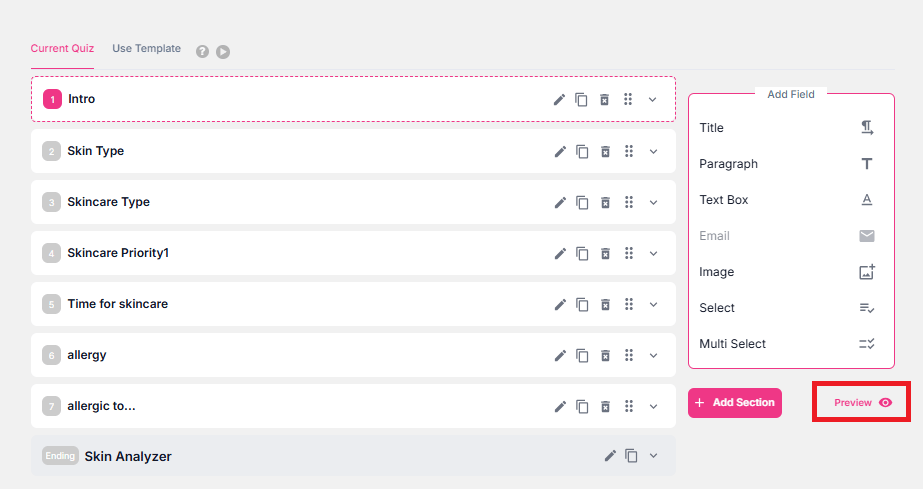
In preview you can only view the questions — options can’t be selected.