Shopify Customers
Basic Email
Google Analytics
Klaviyo
HubSpot
Mailchimp
Facebook Pixel
Omnisend
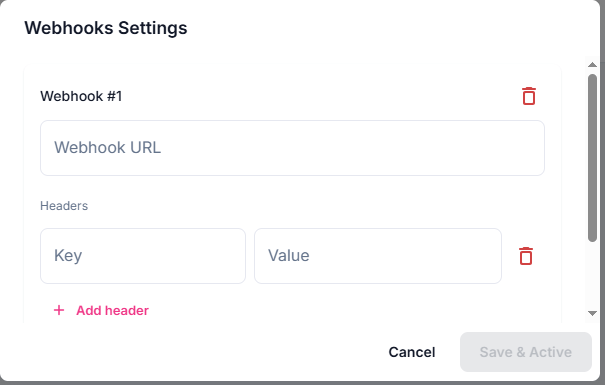
Webhook
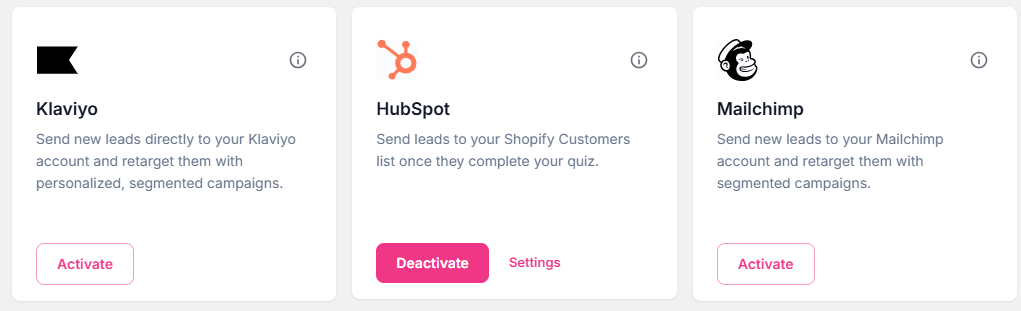
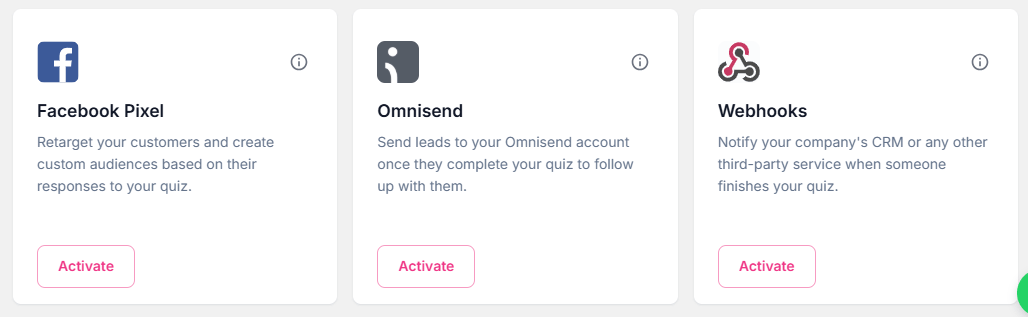
Shopify Customers
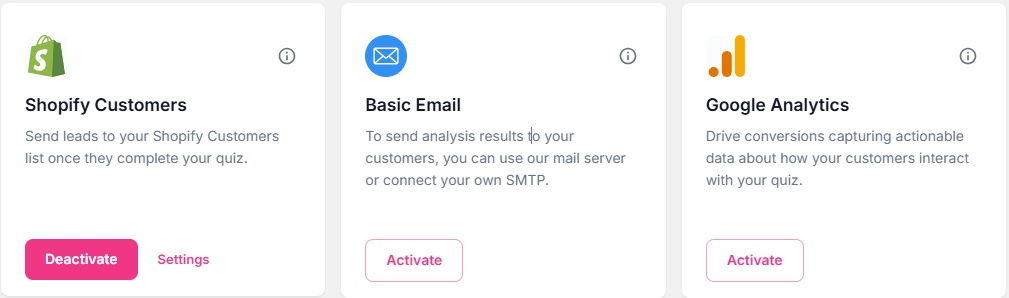
In the Shopify Customers box, click Active to connect Face Age to your Shopify customers. You’ll see the people who entered their email and completed the analysis, and can send them customized emails with the integrations below. In Shopify Customers, each registered email is shown with its skin problem tags.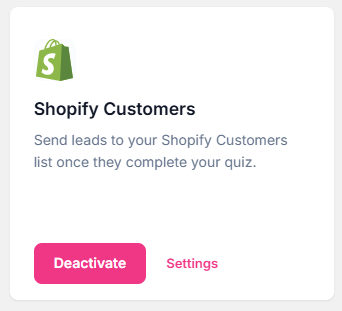
Basic Email
Automatically send analysis results to your users by email. Use the Face Age mail server or your own SMTP.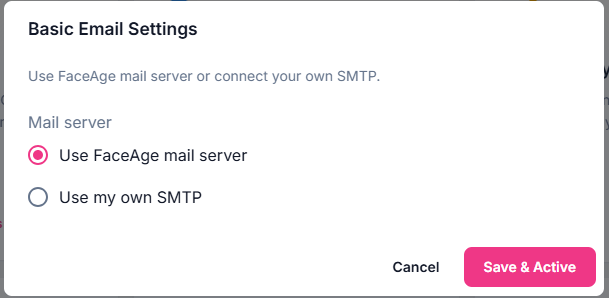
If you’ve already connected Klaviyo or Mailchimp, Basic Email isn’t available. Disconnect Klaviyo or Mailchimp from Face Age first.
Google Analytics
Open the Google Analytics box on the Integrations page.
Klaviyo
1
Connect to Klaviyo
Open the Klaviyo box and click Connect.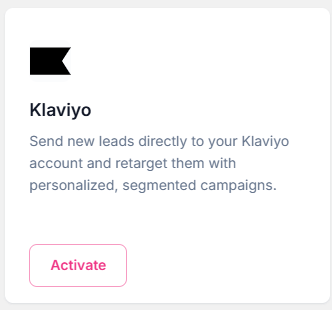
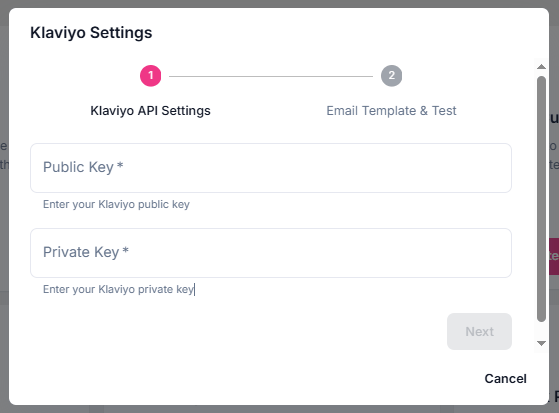
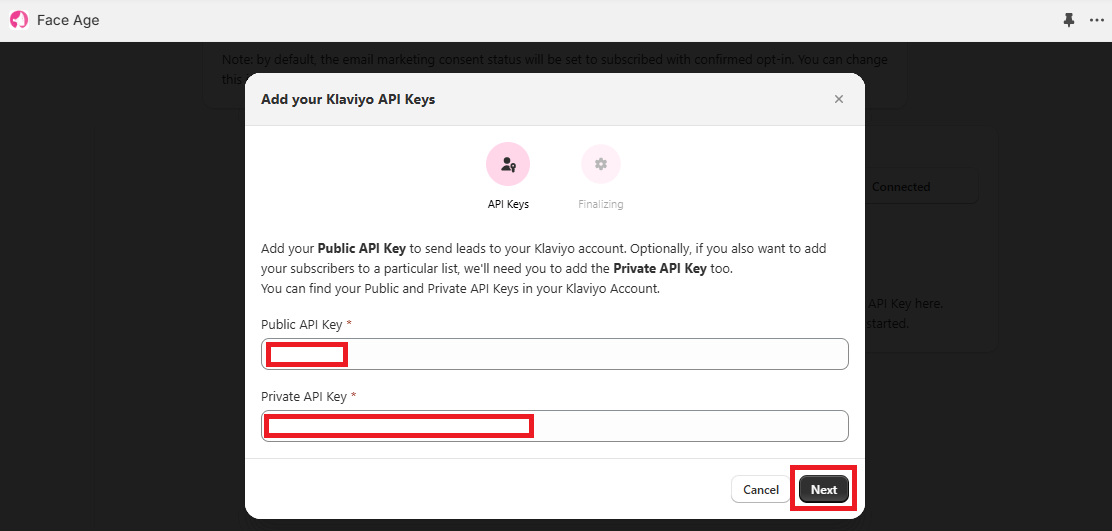
- Log in to your Klaviyo account.
- Go to Settings (the last item in the left sidebar).
- Click API Keys.
-
Copy the Public API Key and paste it into the first field in Face Age.
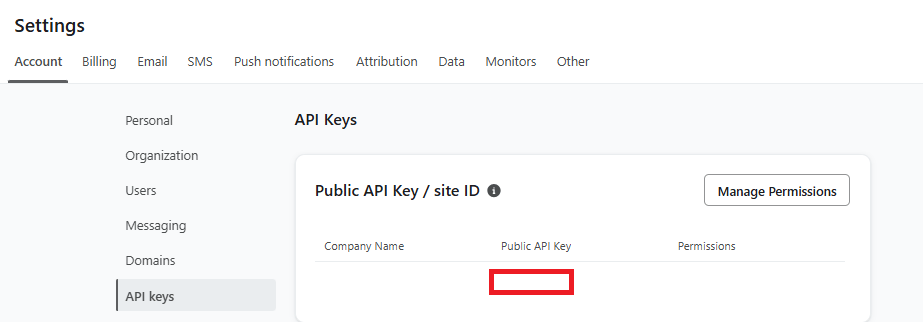
-
Back in Klaviyo, click Create Private API Key.
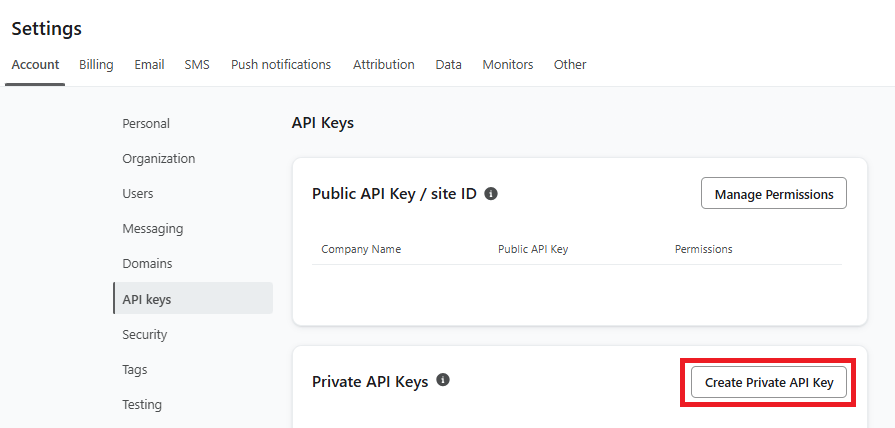
- Name the key, for example “Face Age”.
-
Choose Full Access and click Create.
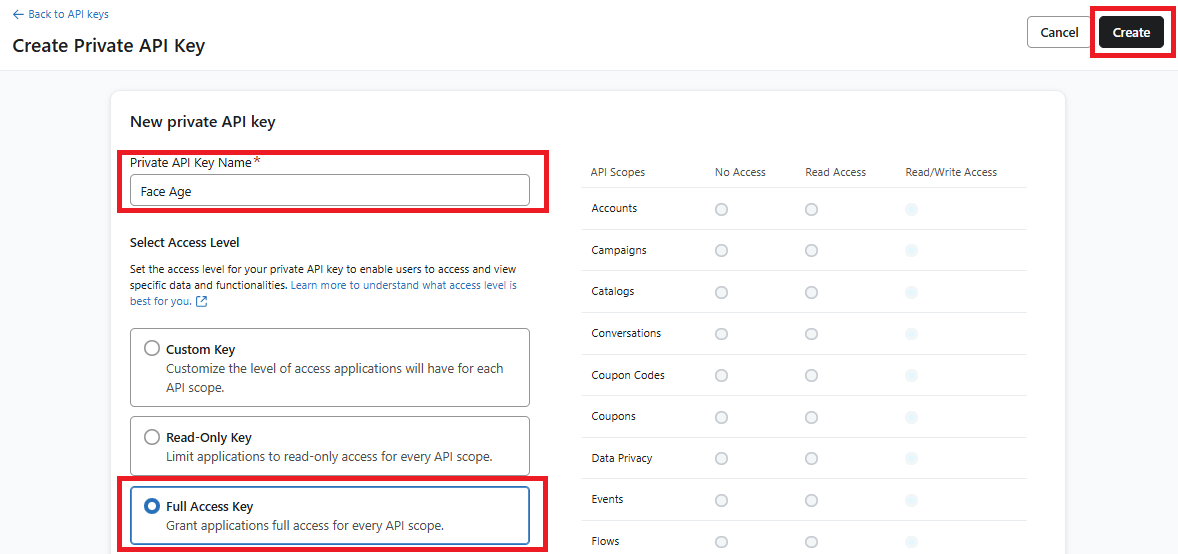
- Copy the key and paste it into the second field in Face Age.
2
Create the email flow in Klaviyo
Copy the HTML code Face Age shows, then create a flow in Klaviyo.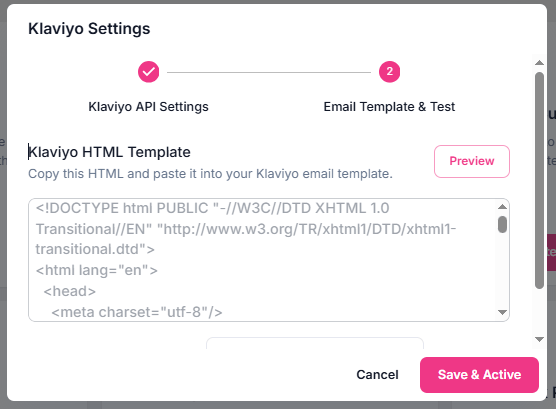
-
In Klaviyo, go to Flows in the left sidebar.
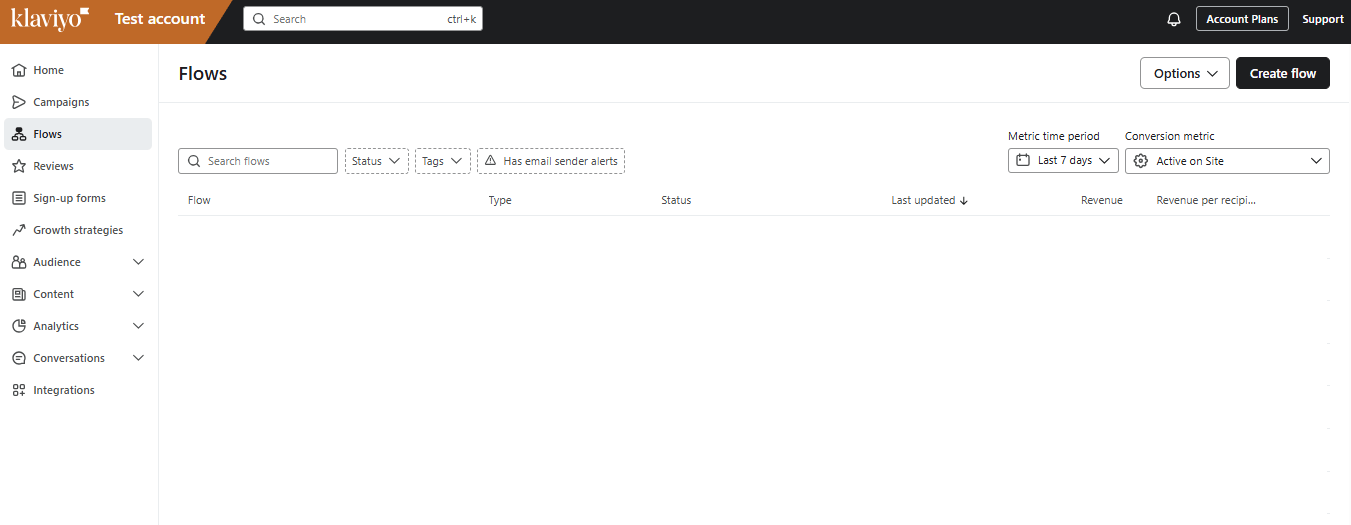
- Click Create Flow in the top-right corner.
-
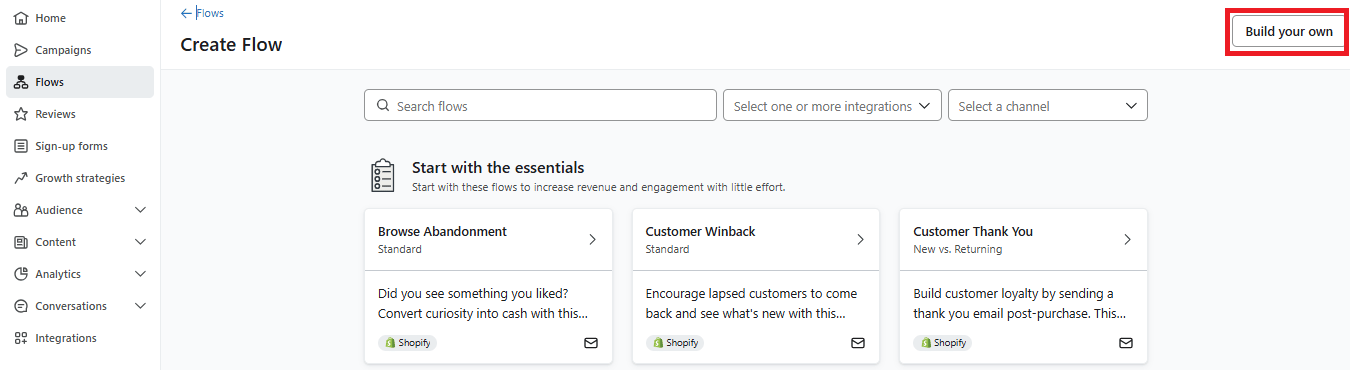
Select Build your own, name the flow (for example “Face Age”) and click Create Flow.
-
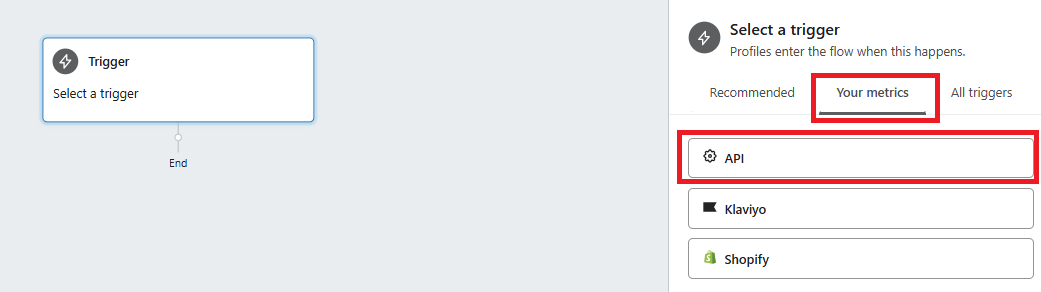
In the new flow, click Metrics in the right sidebar and select API.
-
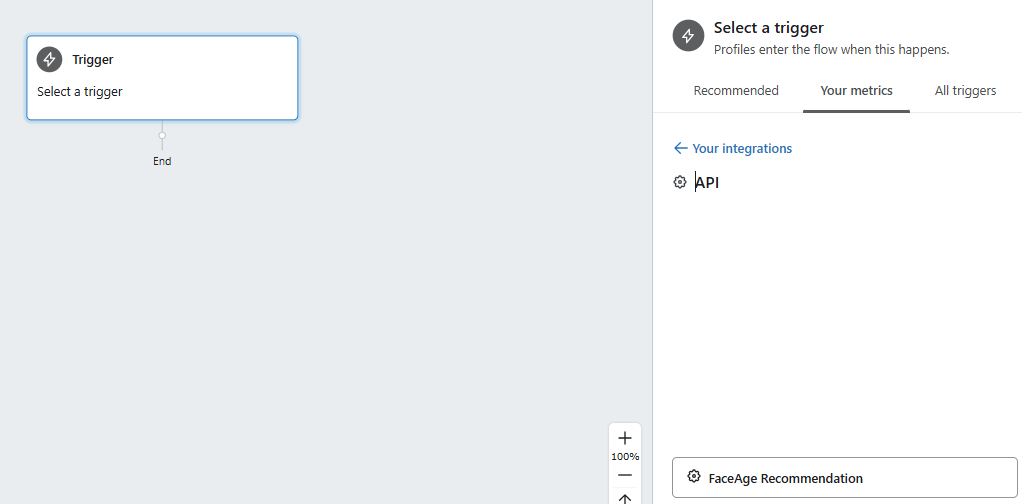
Choose Face Age Recommendation, click Save and confirm.
-
Drag an Email block into the flow and click it to edit.
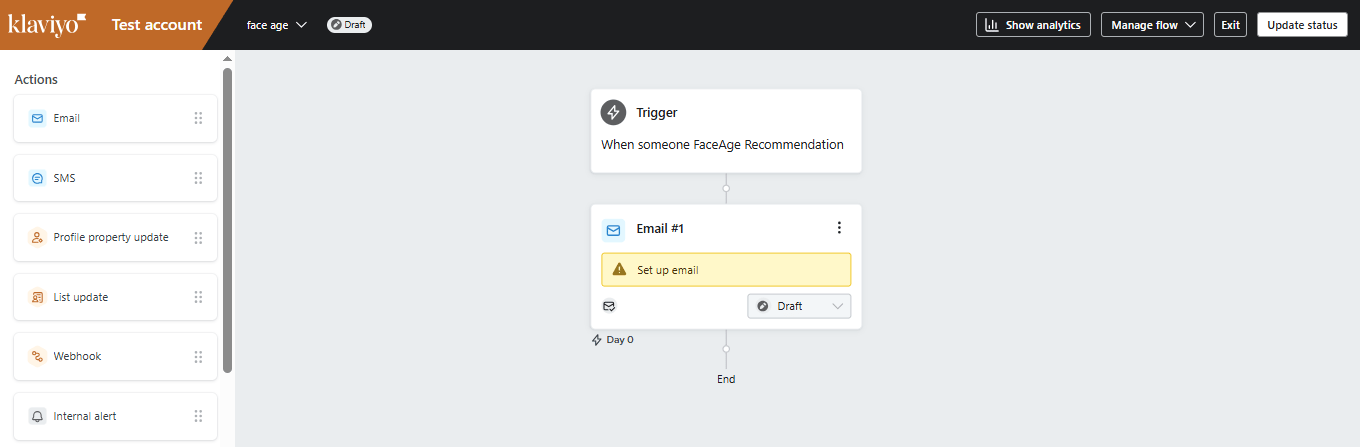
- In the right sidebar, set the subject line, sender name and duplicate-email settings.
-
Under Select Template, choose Create HTML Template.
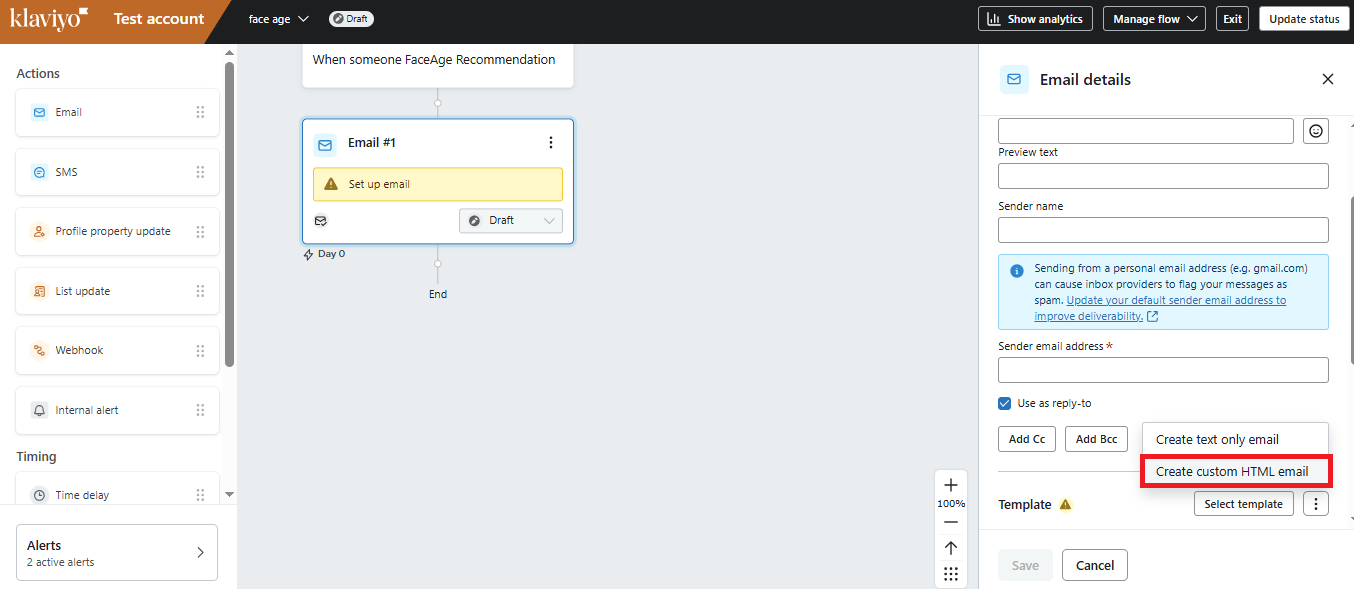
- Delete the existing code in the editor and paste the code you copied.
-
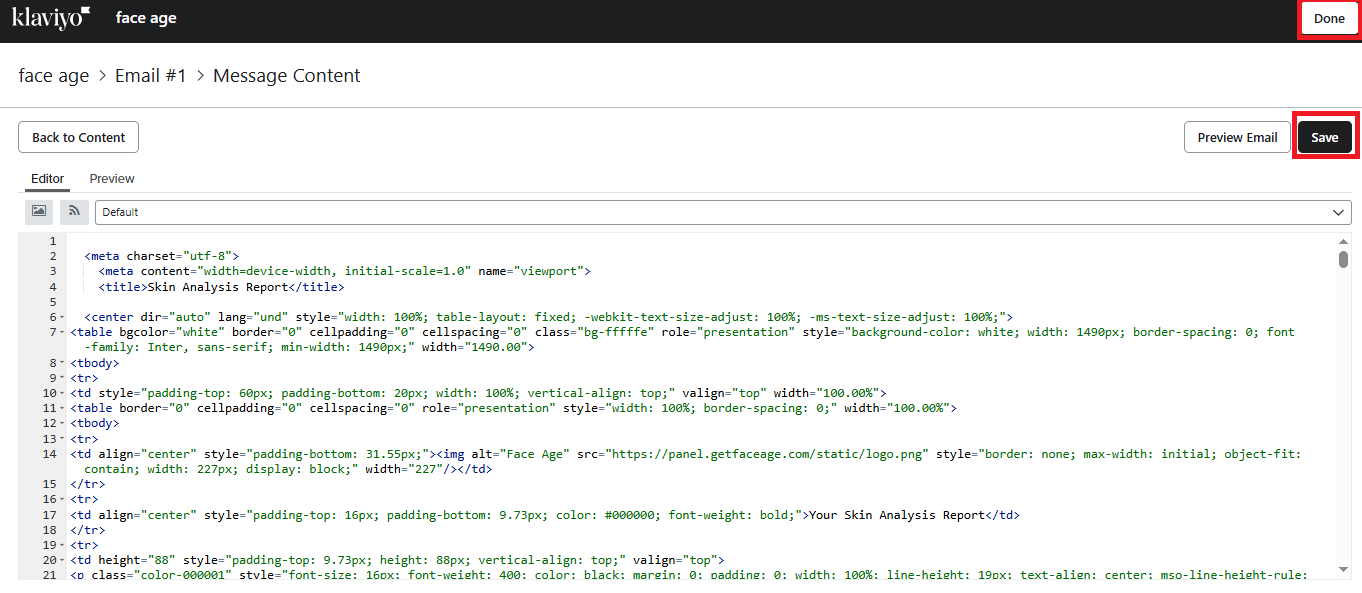
Save the template, then click Save and Done.
-
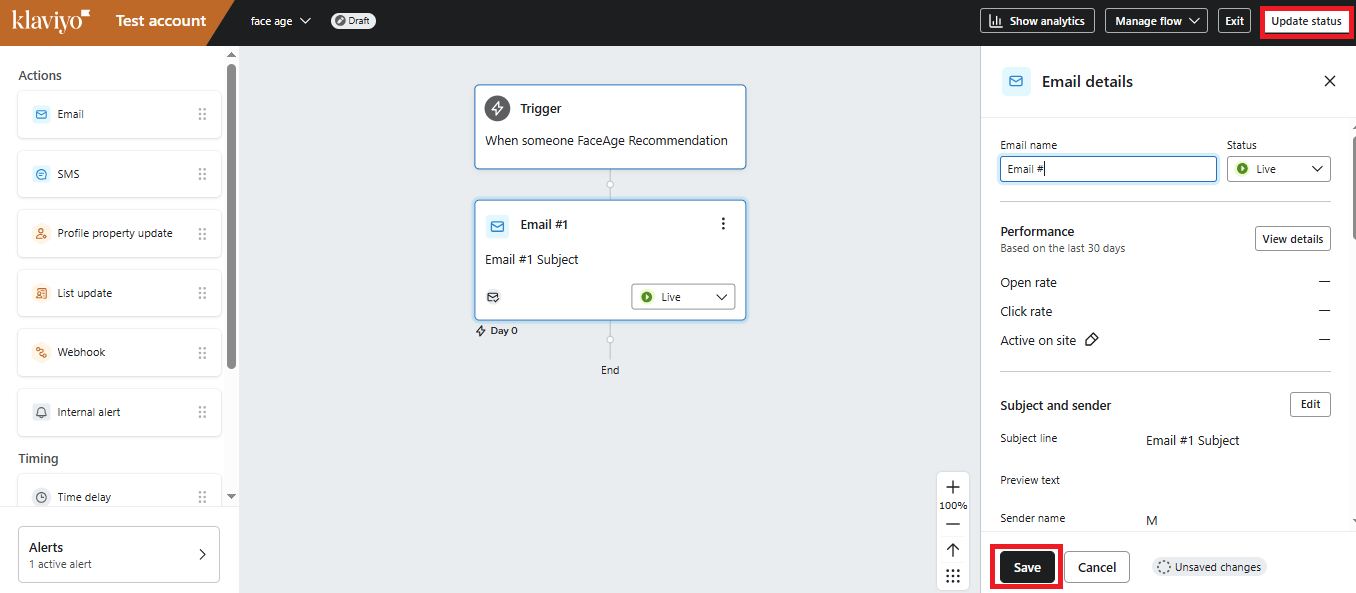
Change the status from Draft to Live and make sure all changes are saved.
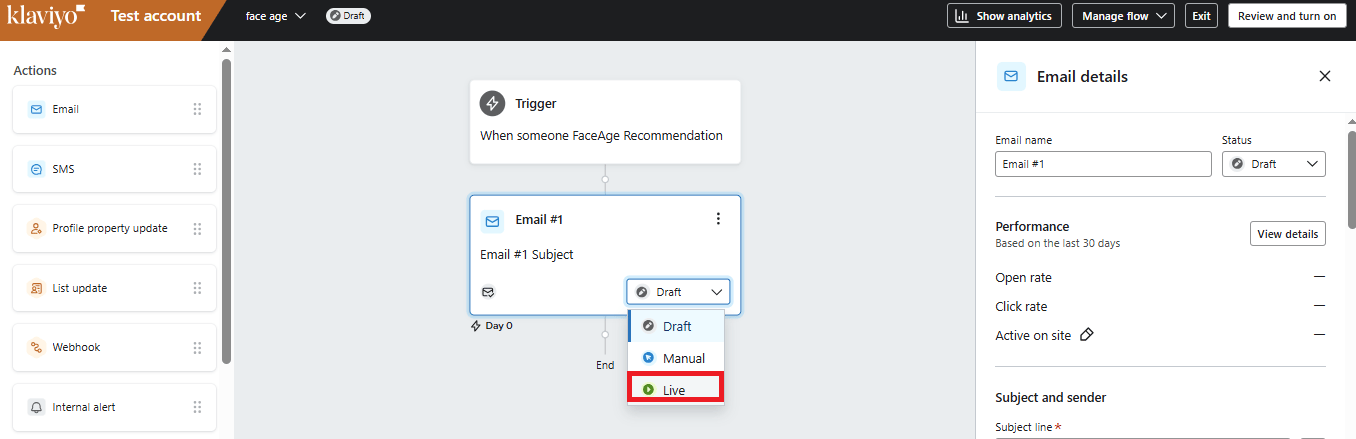
-
If you changed details like the subject line, reapply them before saving.
-
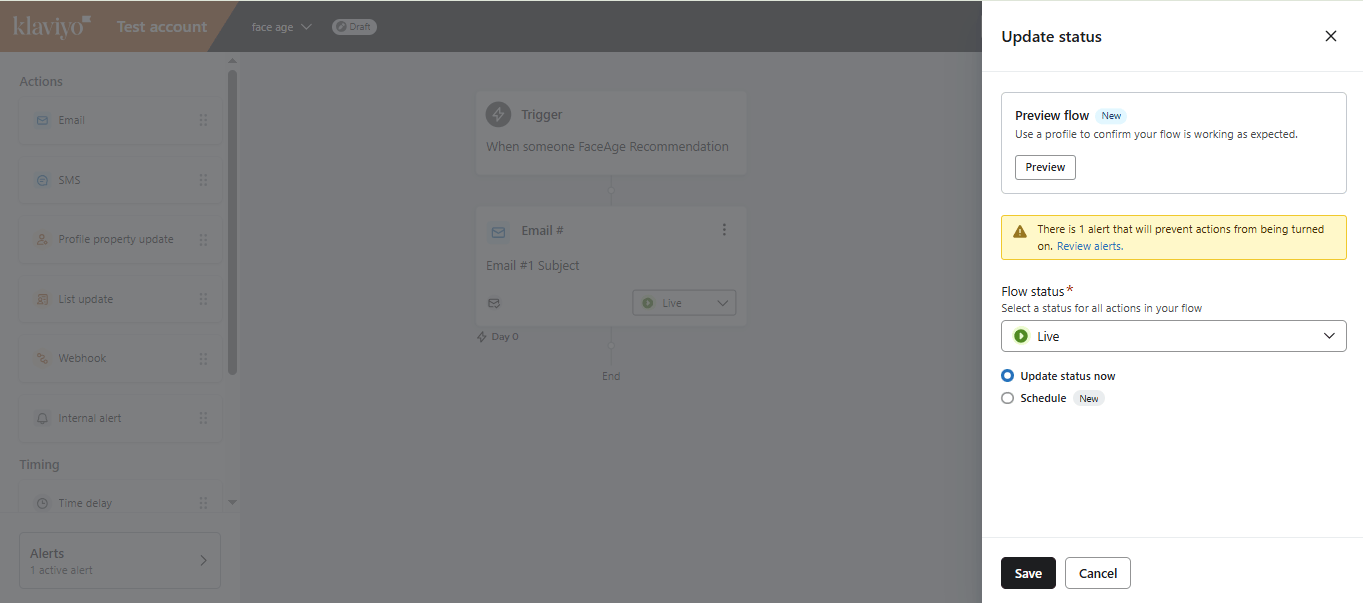
Click Update Status in the top menu and set the flow to Live.
3
Test and activate
Back in Face Age, enter a test email address.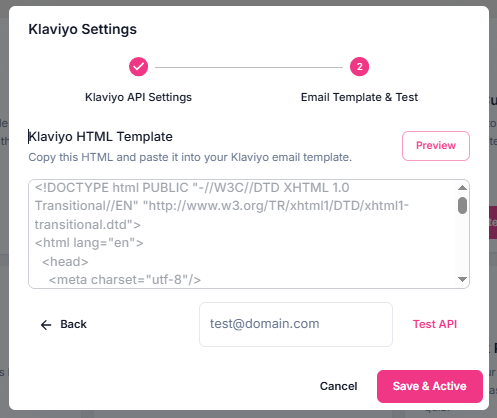
- Click Test API and check that the email arrives.
- Click Save & Active.
HubSpot
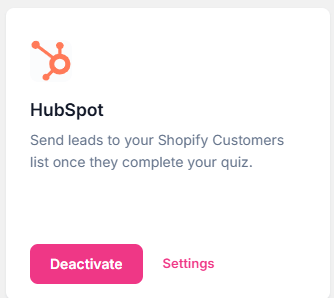
Connect Face Age with HubSpot to send the leads Face Age captures to HubSpot and use them as a segment in your workflows.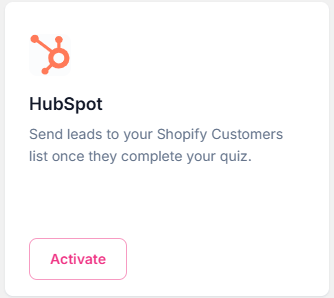
-
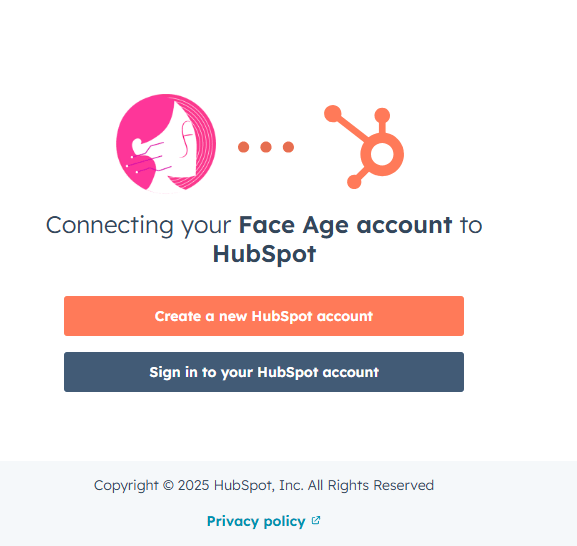
Click Activate. A new page opens where you can sign in to HubSpot or create an account.
-
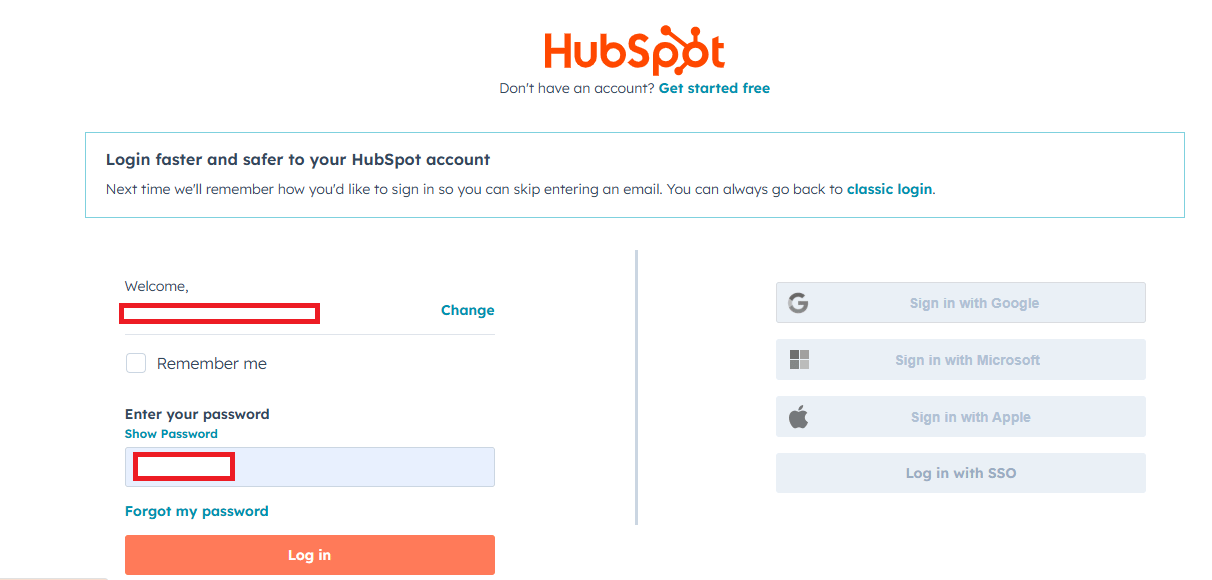
Click Sign in to your HubSpot account and enter your username and password.
-
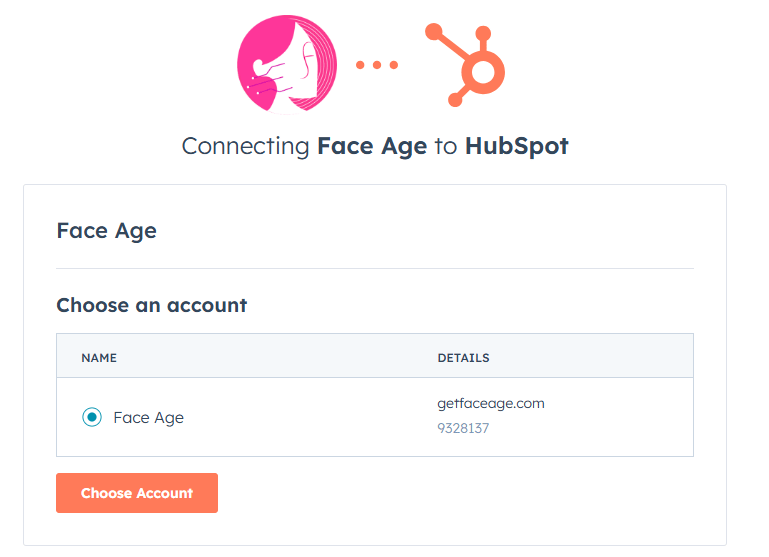
Check the box for Face Age and click Choose Account.
-
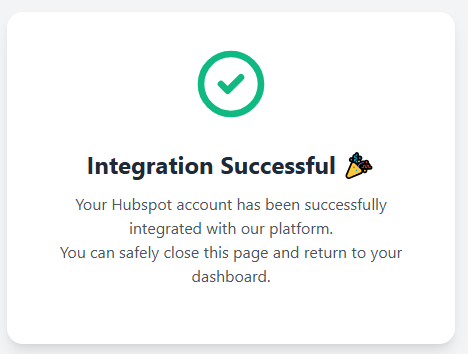
Wait for the activation message.
-
Go back to your Shopify admin and refresh the page. The integration is active.
Mailchimp
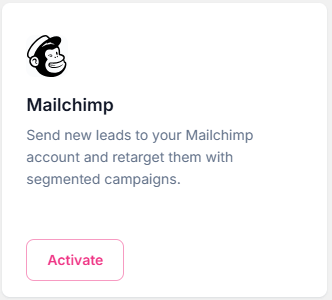
If you already have a Mailchimp account:-
Click Activate.
-
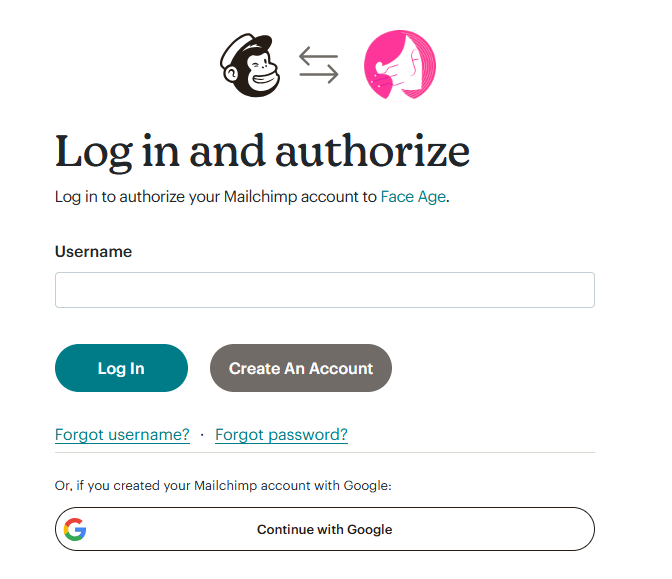
Enter your username and click Log In, then enter your password and click Log In again.
-
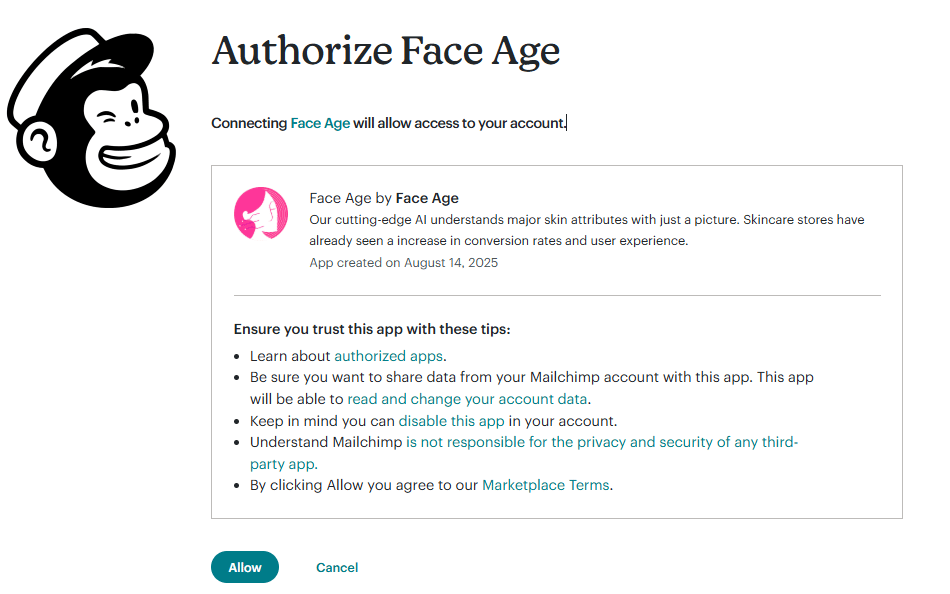
Click Allow.
-
Wait for the activation message.
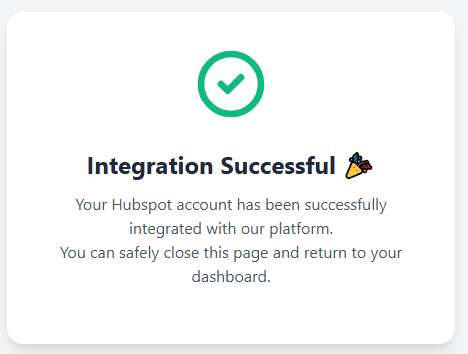
- Go back to your Shopify admin and refresh the page. The integration is active.
Facebook Pixel
If you already have a Facebook Pixel:-
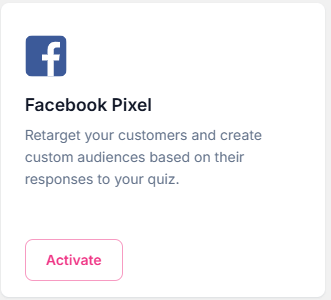
Click Activate.
-
Enter your Facebook Pixel ID.
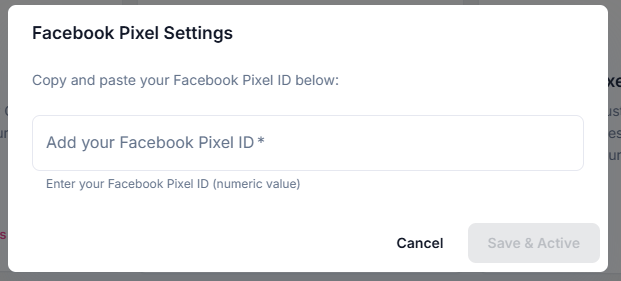
- Click Save & Activate, then refresh the page to see it activated.
Omnisend
-
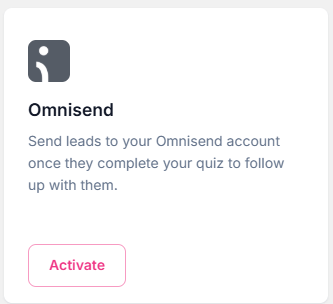
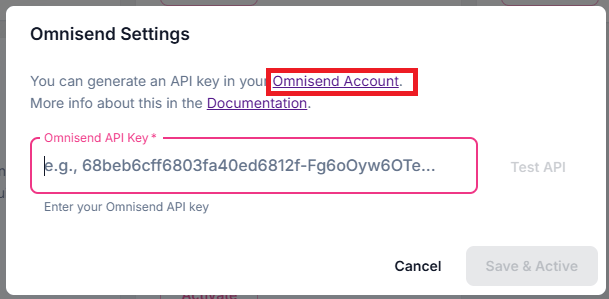
Click Activate. A dialog asks for your API key.
-
Click Omnisend Account, enter your username and password and click Log In.
-
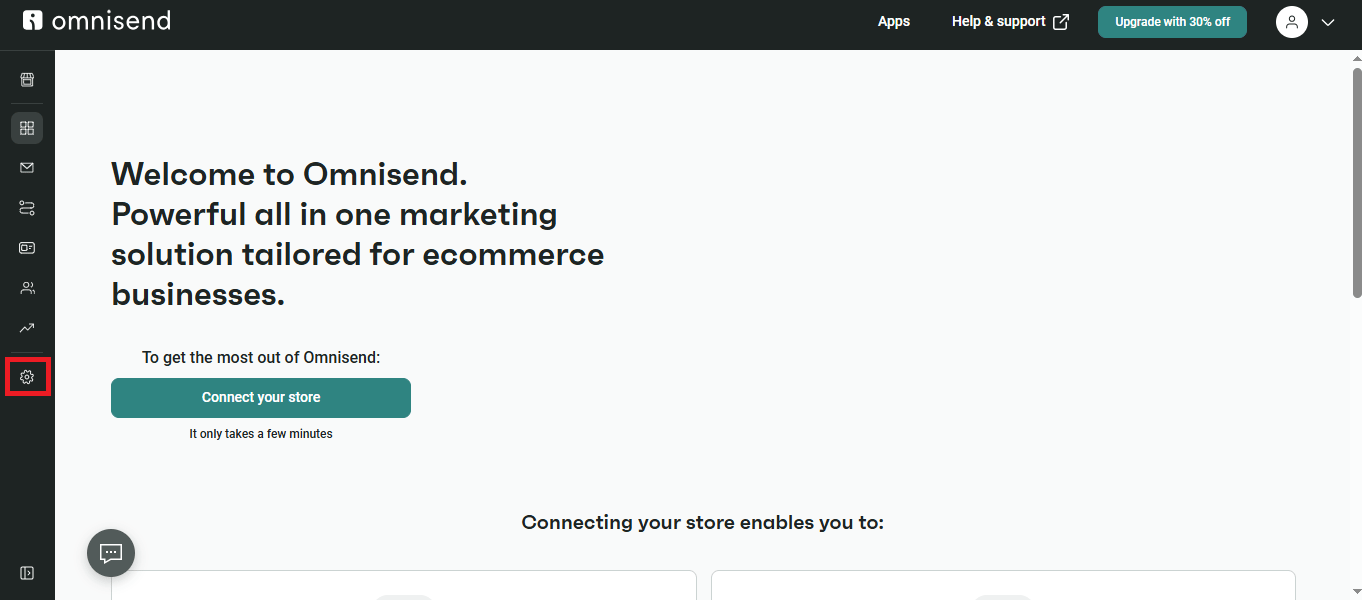
In the left sidebar, go to Store Settings.
-
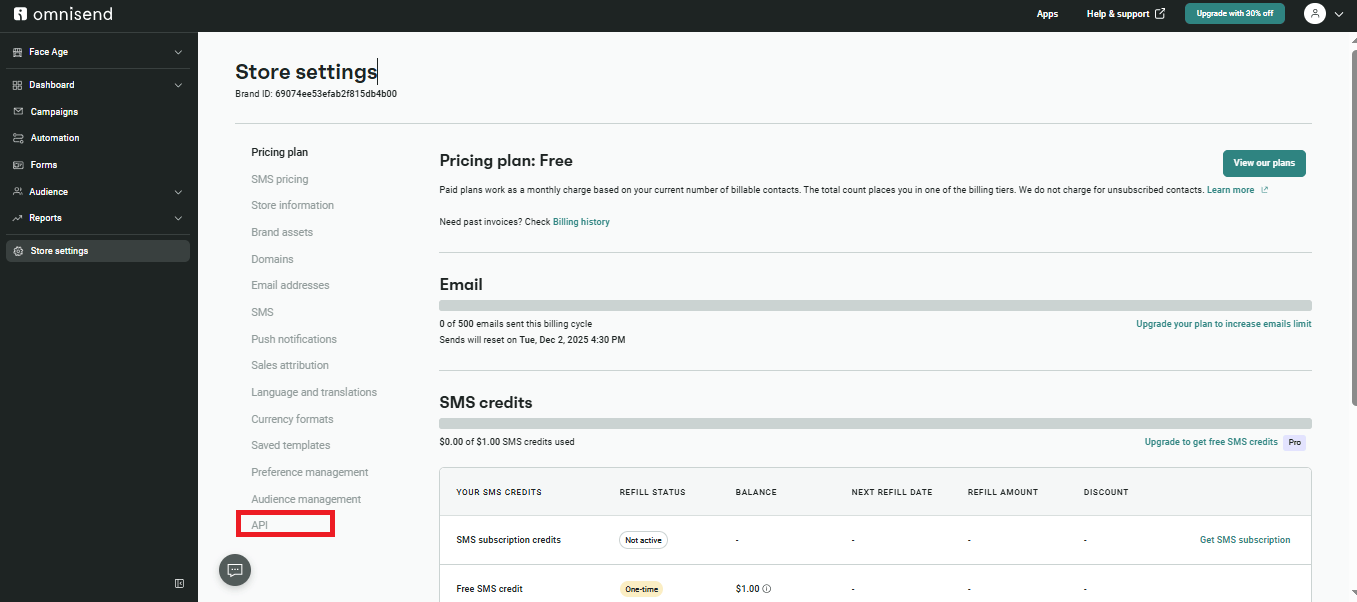
Select API.
-
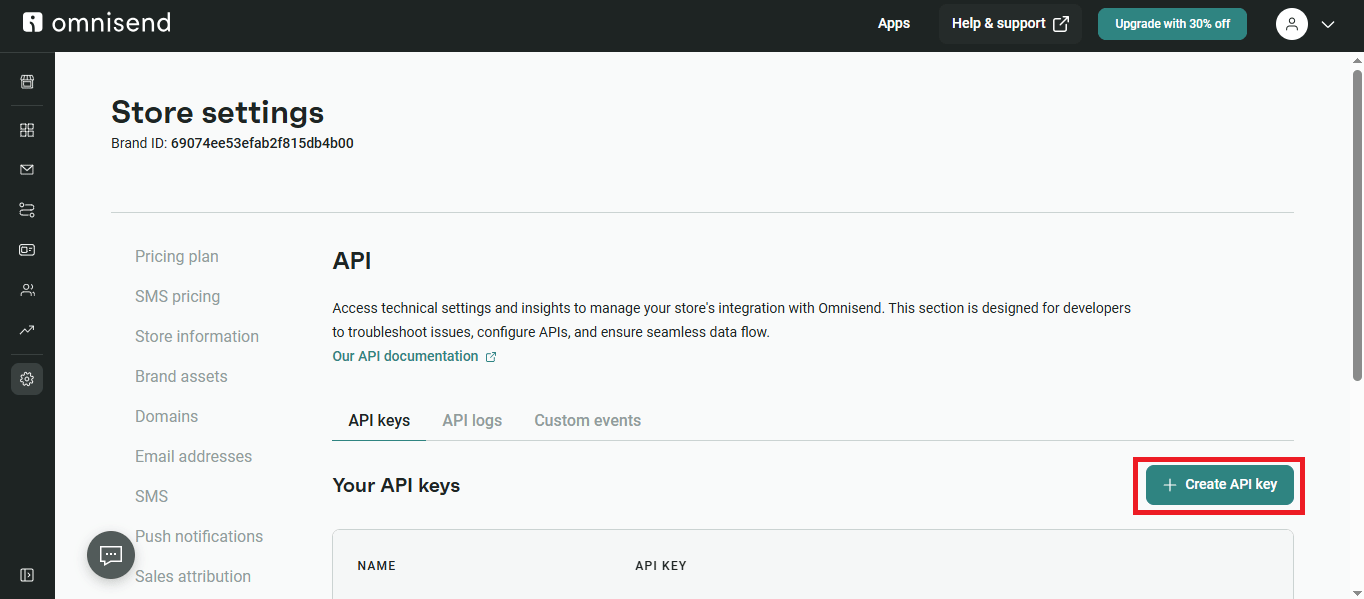
Click Create API Key.
-
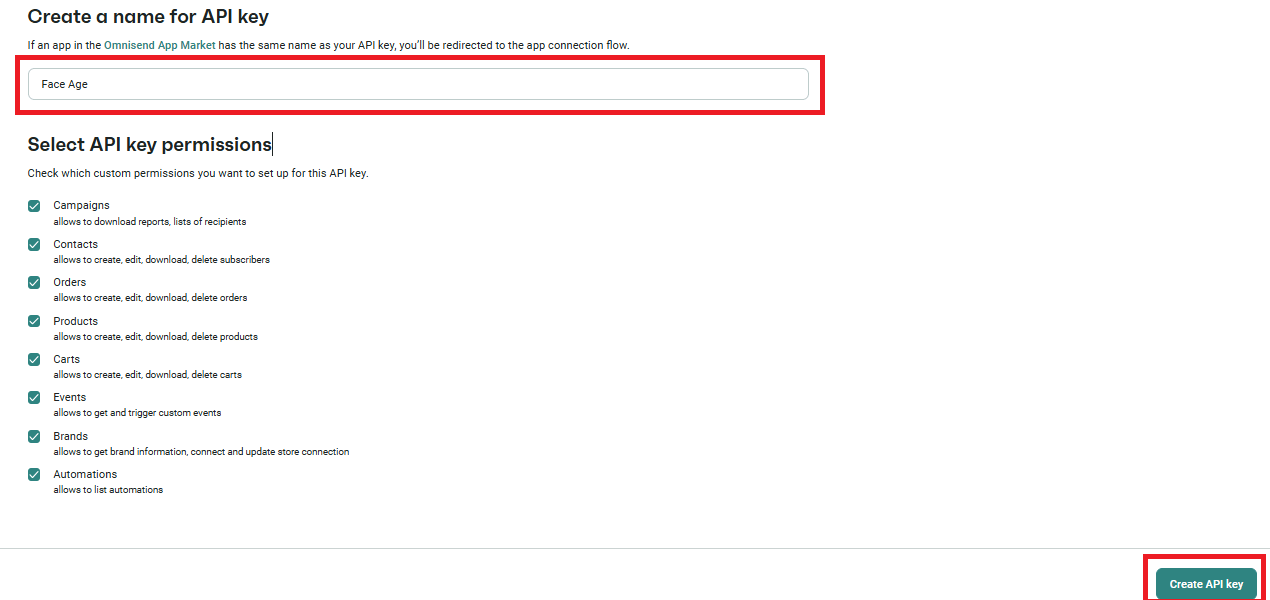
Name the key, for example “Face Age”, scroll down and click Create API Key.
-
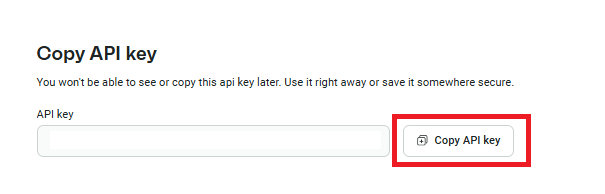
Copy the generated key.
-
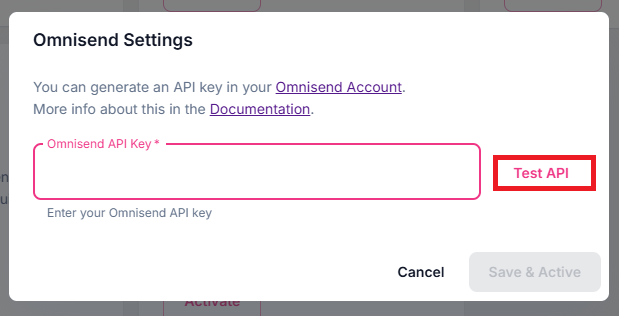
Back in your Shopify admin, paste the key and click Test API.
-
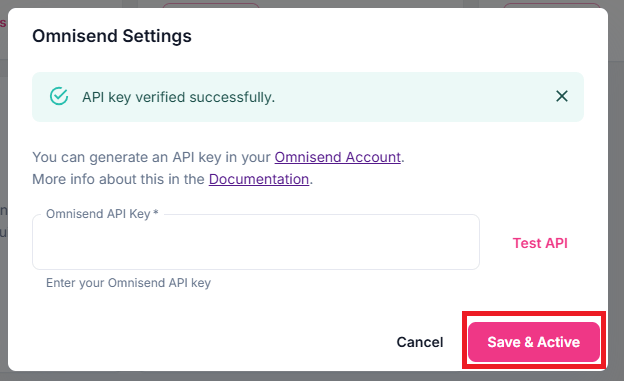
When Verify API appears above the field, click Save & Activate.
Webhook